Week 1: Intro and setting up
Hi! Welcome to the BINF2010 tutorial stream. Today, you will be setting up your work environment. This will involve installing VScode and Python, and if there is time, R and Rstudio. If you have these already set up - great! Try helping someone in your tutorial that doesn’t.
Overall tutoRial aims
- Introduce you to R :large_blue_circle: and Python :snake:
- Basic concepts in data analysis
- “Cool” visuals
CouRse outline
- Week 1: Installing all the things!
- Week 2: Introduction to Python
- Week 3: Data Viz in Python
- Week 4: Snakes on a plane
- Week 5: Biopython basics
- Week 6: BReak!
- Week 7: Introduction to R
- Week 8: More R
- Week 9: Even moRe R
- Week 10: Shiny/Recap
What is Python?
- Initially developed during the late 1980’s by Guido van Rossum. First development version released in 1991. Version 1 released in 1994. Python 2.0.0 released June, 2001 and Python 2.x end-of-life Jan 1, 2020. This version was so popular and widely used that many Bioinformatics programs were written using it. Some of these tools have been converted to support v3.x, others are in the process of being upgraded or have been abandoned and will stay on v2.x. The last Python 2.x release is still available for download. Python 3.x (December 2008) was a significant re-design and broke compatibility with some parts of v2.x.
What isssssssss it good for?
- Data mining/analysis
- Machine learning
Modules
- Modules are code bundles.
- Modules are accessed by using the import statement. When you do this, you execute the code of the module, keeping the scopes of the definitions so that your current file(s) can make use of these.
- You can download modules through
pip(package installer for Python).
Install Python
Start off by downloading VSCode and then Python.
Install modules
These commands go in the terminal (your VSCode terminal, or another terminal on your computer as long as python3 works).
This will NOT work in the python interactive console, nor should you type this into a .py file.
Note: sometimes
pythonorpipwill not be recognised; trypip3orpython3instead.pip install matplotlib pip install biopython
Import modules
Now that the packages have been installed to your computer with pip, the way we include the code from those packages into any given instance of python is with import. The following line should be added to a .py file and then run (or, on the command line using python -c "import matplotlib").
import matplotlib
Install Jupyter notebooks
Again., these commands go in the terminal (your VSCode terminal, or another terminal on your computer as long as pip works).
https://pypi.org/project/jupyter/
pip install jupyter
Select kernel
https://code.visualstudio.com/docs/datascience/jupyter-kernel-management
Testing your installation - Python
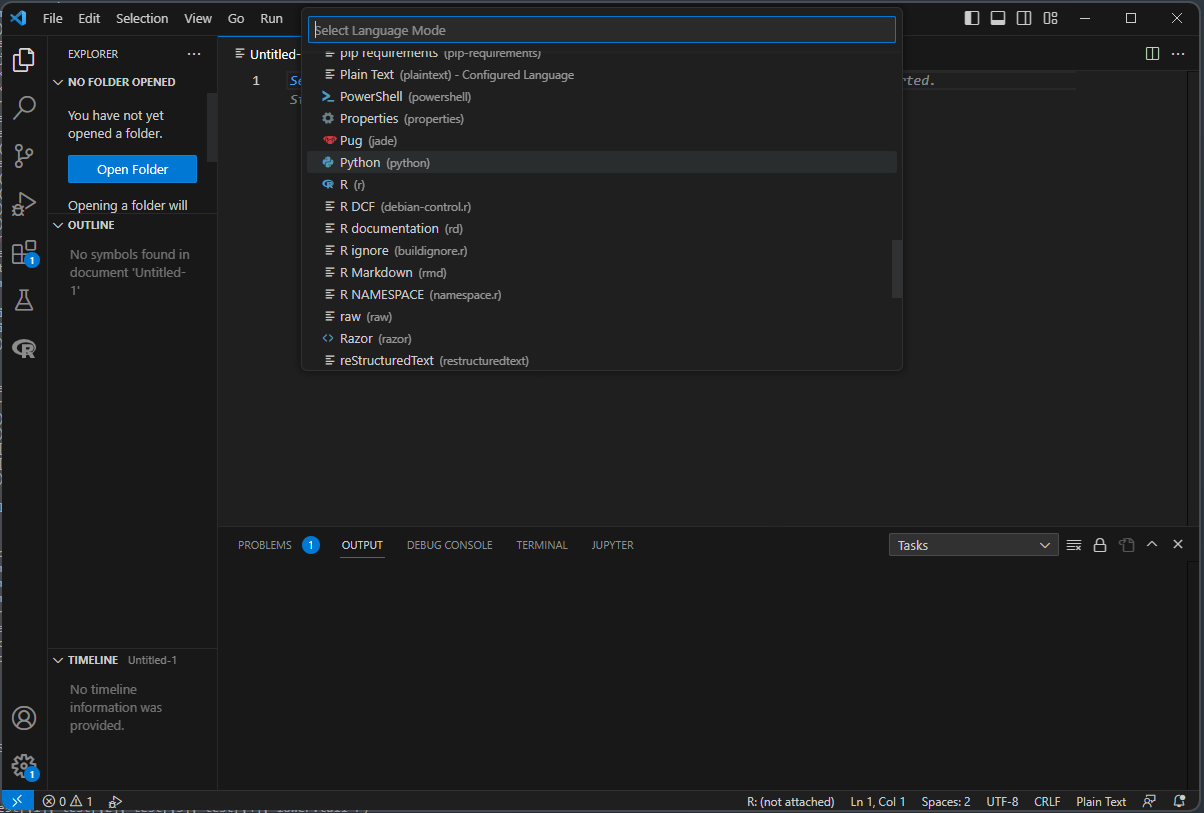
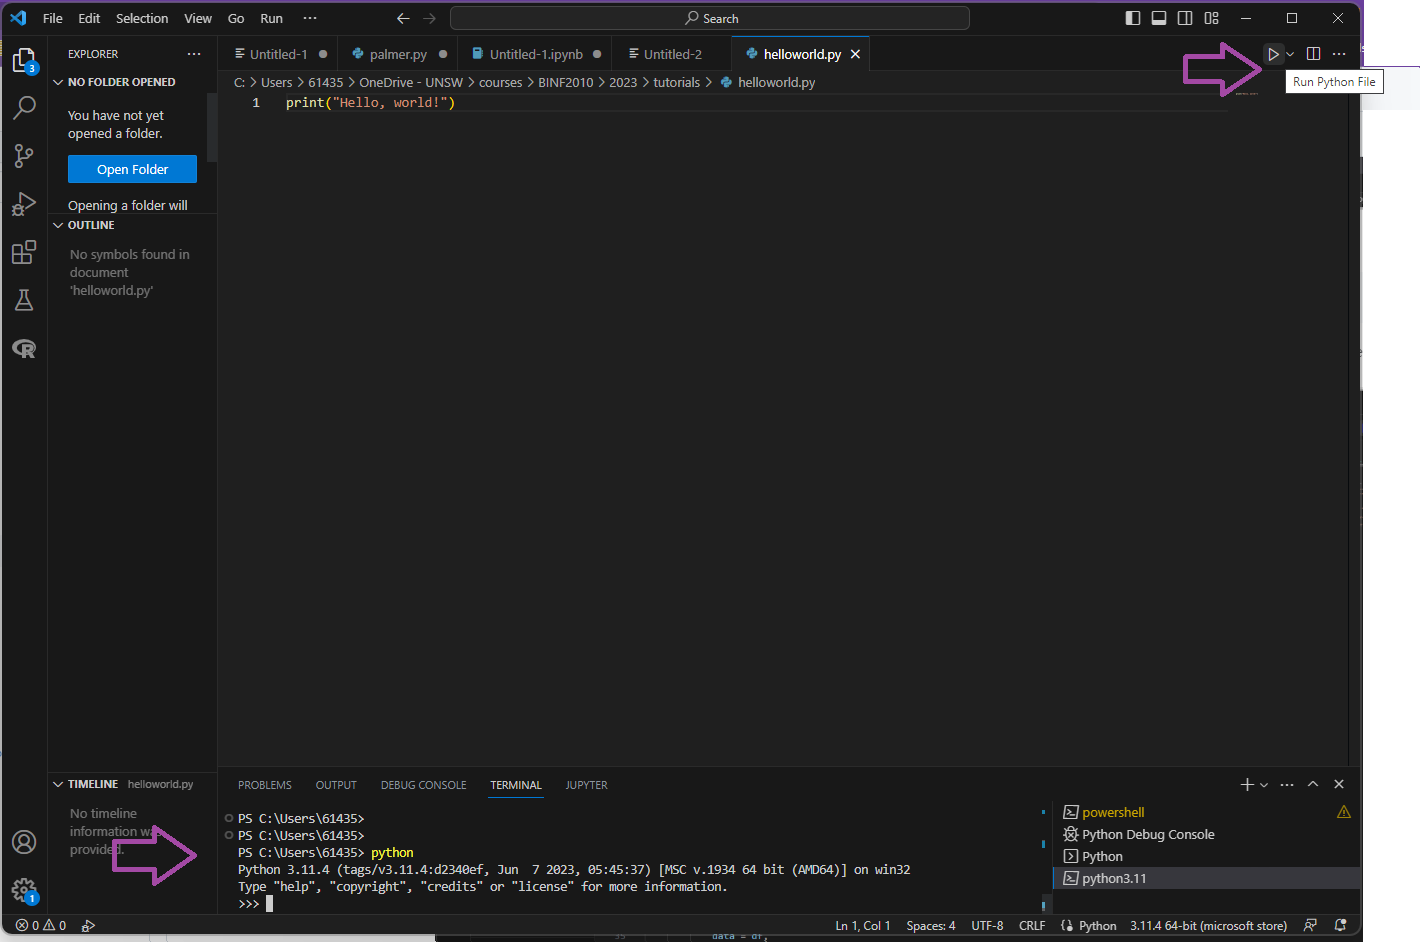
Make sure you have installed VSCode and Python correctly.
Open up VSCode
If an Untitled-1 file appears, click on Select a Language at the top of the new file and search for Python.
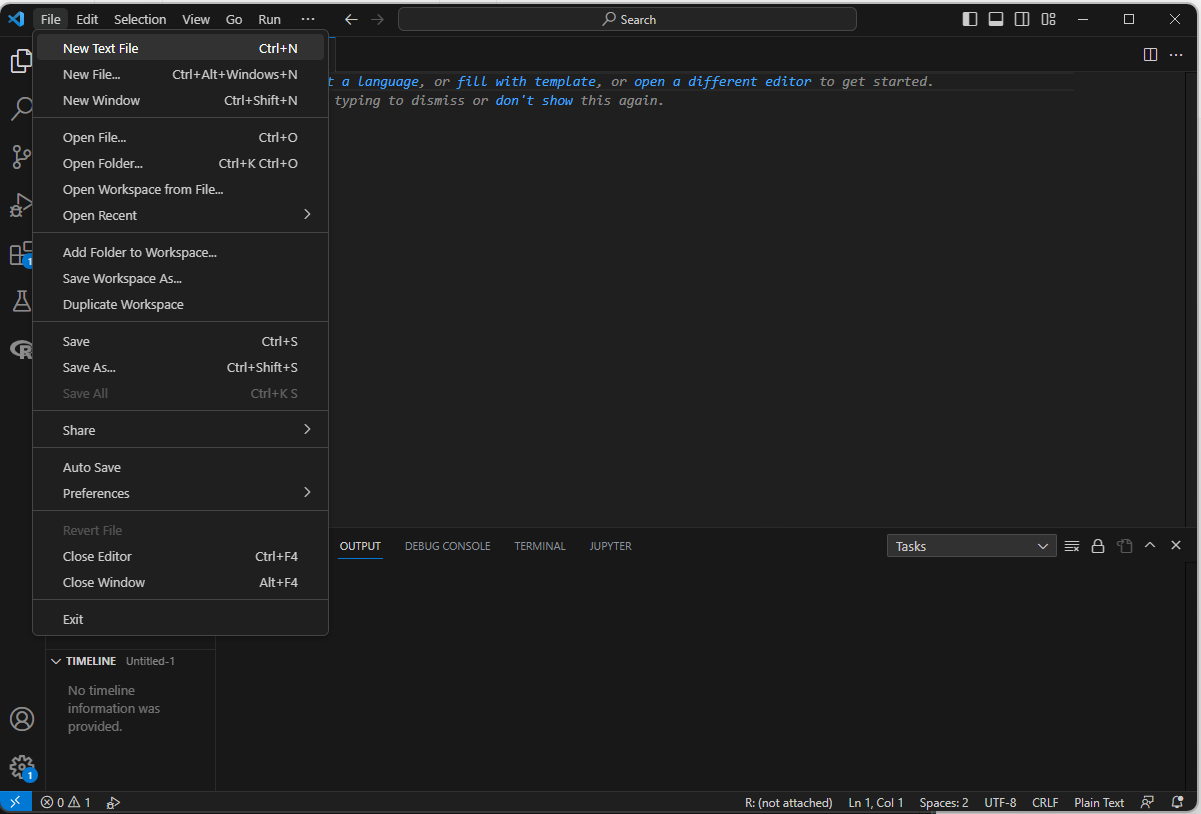
Otherwise, click on “File -> New Text File”, and that should open a new document.
As a quick sanity check, see if you can execute this bit of code.
Open a new file in VSCode.
Copy and paste (or type) this into your new file:
print("Hello, World!")
Save the file and name it “helloworld.py”. Note the “.py” extension. Click the triangle “play” button to run your code in the terminal.
What is R?
- Statistical and graphical language
- Follower of S
What is it good foR?
- Data mining/analysis
- Data visualization and graphics
- Statistics!
- Glorified calculator?
Packages, Repositories, oh my!
- Packages are code (and other!) bundles.
- Packages are accessed through the
library()orrequire()functions. - Repositories are where packages are located. Most are in CRAN. Bioconductor and also github.
- More on this here and here.
Install R
Start off by downloading R and then RStudio.
Note: make sure you use the correct install specific to your computer’s hardware (e.g. M2 chip on newer macbooks will not work with the Intel CPU installation etc.)
Install packages
From CRAN:
install.packages("gplots")
From Bioconductor:
if (!require("BiocManager"))
    install.packages("BiocManager")
BiocManager::install("limma")
From github:
install.packages("devtools")
library(devtools)
devtools::install_github("karthik/wesanderson")
Load libraries
library(gplots)
library(limma)
library(wesanderson)
Testing your installation - R
Make sure you have installed Rstudio and R correctly.
Open up Rstudio.
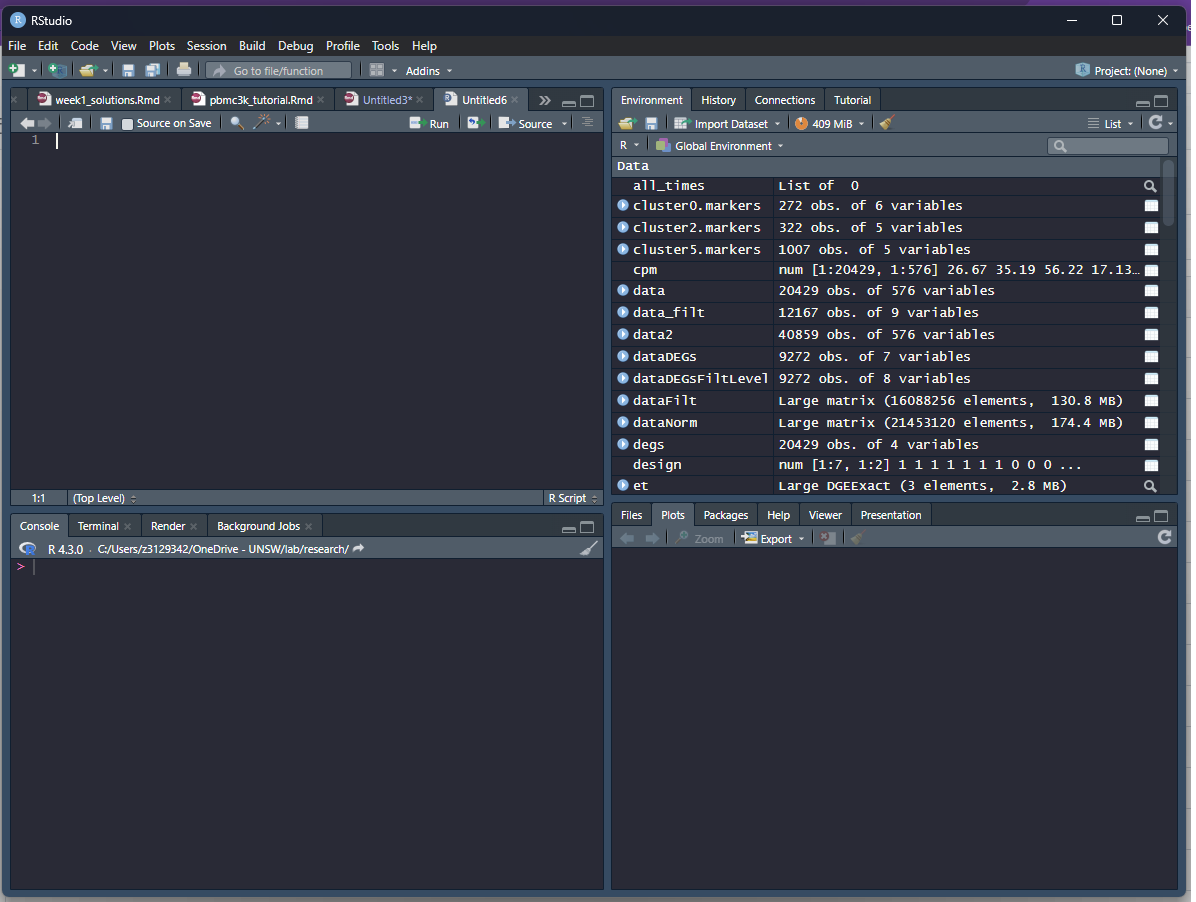
You should be able to see 4 different windows. We will be working within the “Source” and “Console” windows.
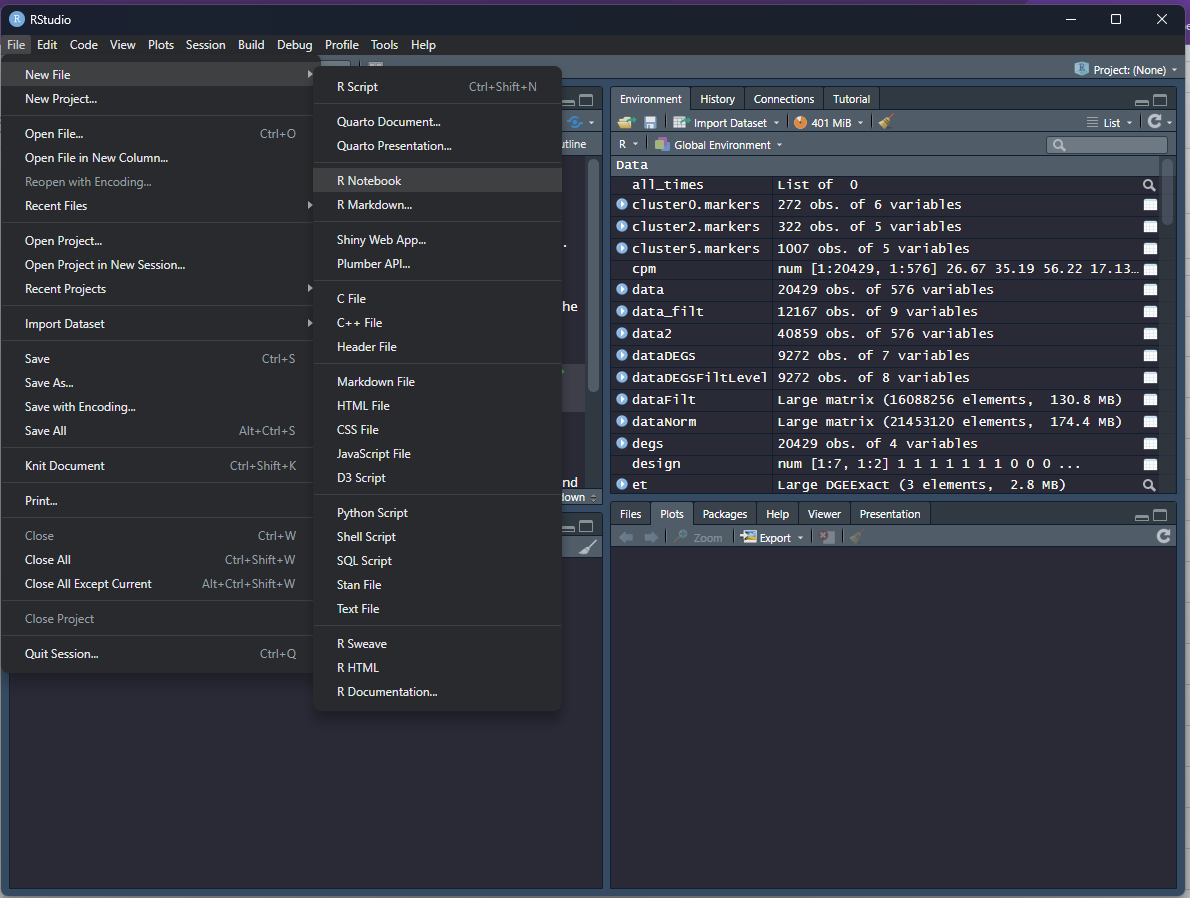
Start a new notebook file by selecting “File” -> “New File” -> “R Notebook”
This should open up a file in the source window. Change the title to “Week 1”, and include your name as the author by including this line underneath the title:
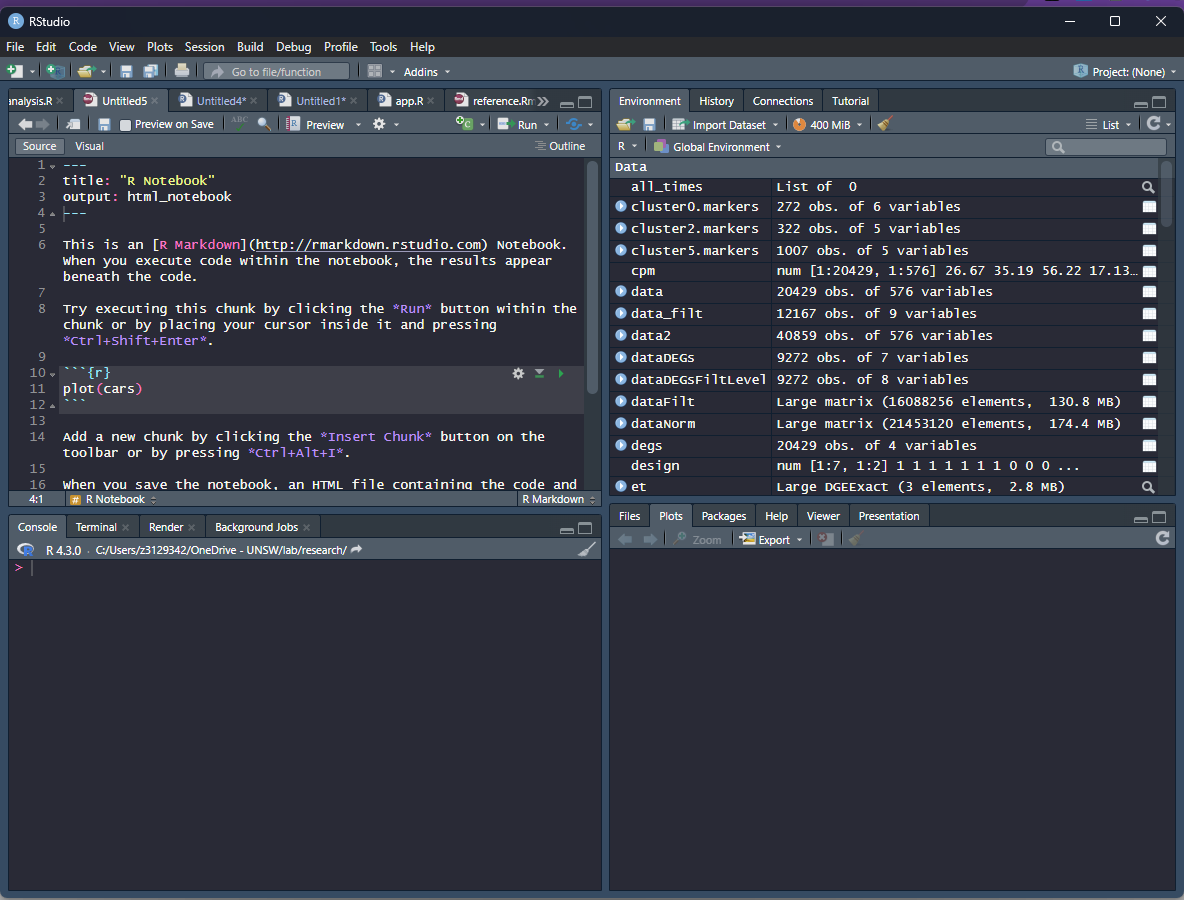
title: "Week 1"
author: "Sara"
Save the file as “yourname_week1.Rmd”. Delete the instructions starting from “This is an [R…”. Insert any notes or comments below in the notebook. Code can be saved as R chunks. An R chunk is code placed after a line that starts with ` {r} `and ends before a line with ` `.
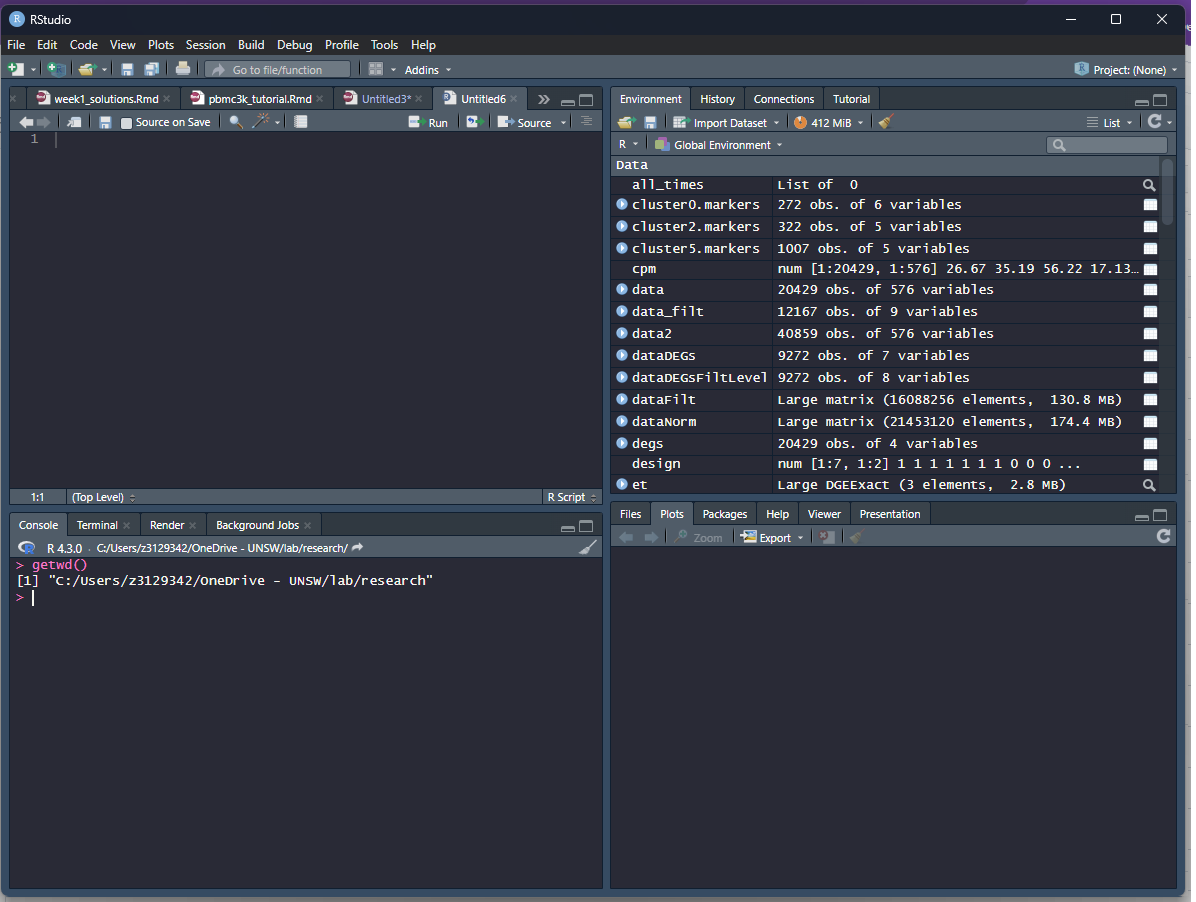
In the console window below the source window, check your working directory by typing in:
getwd()
To set your working directory, where
setwd("C:/<home>/project")
Run the code from earlier to install/load libraries. Then, save this helper script in your working directory.
Then run this bit of code in your console. Note, it might take a little while, but hopefully it will run smoothly.
source("helper.R")
WheRe to get help
OtheR useful ssssstuff
- Python documentation
- Python style guide
- Biopython
- Plotly
- Shiny
- RMarkdown
- Cheatsheets
- Swirl
- Tidyverse
- R tutorials
- Genomics classes
- RLang
- Data viz
- Advanced R
- 50 Practical data sci stats
- CSAMA
- Composing-reproducible-manuscripts-using-r-markdown
And that’s it for this week!
Back to the homepage